
Screen recording: capture and save sessions
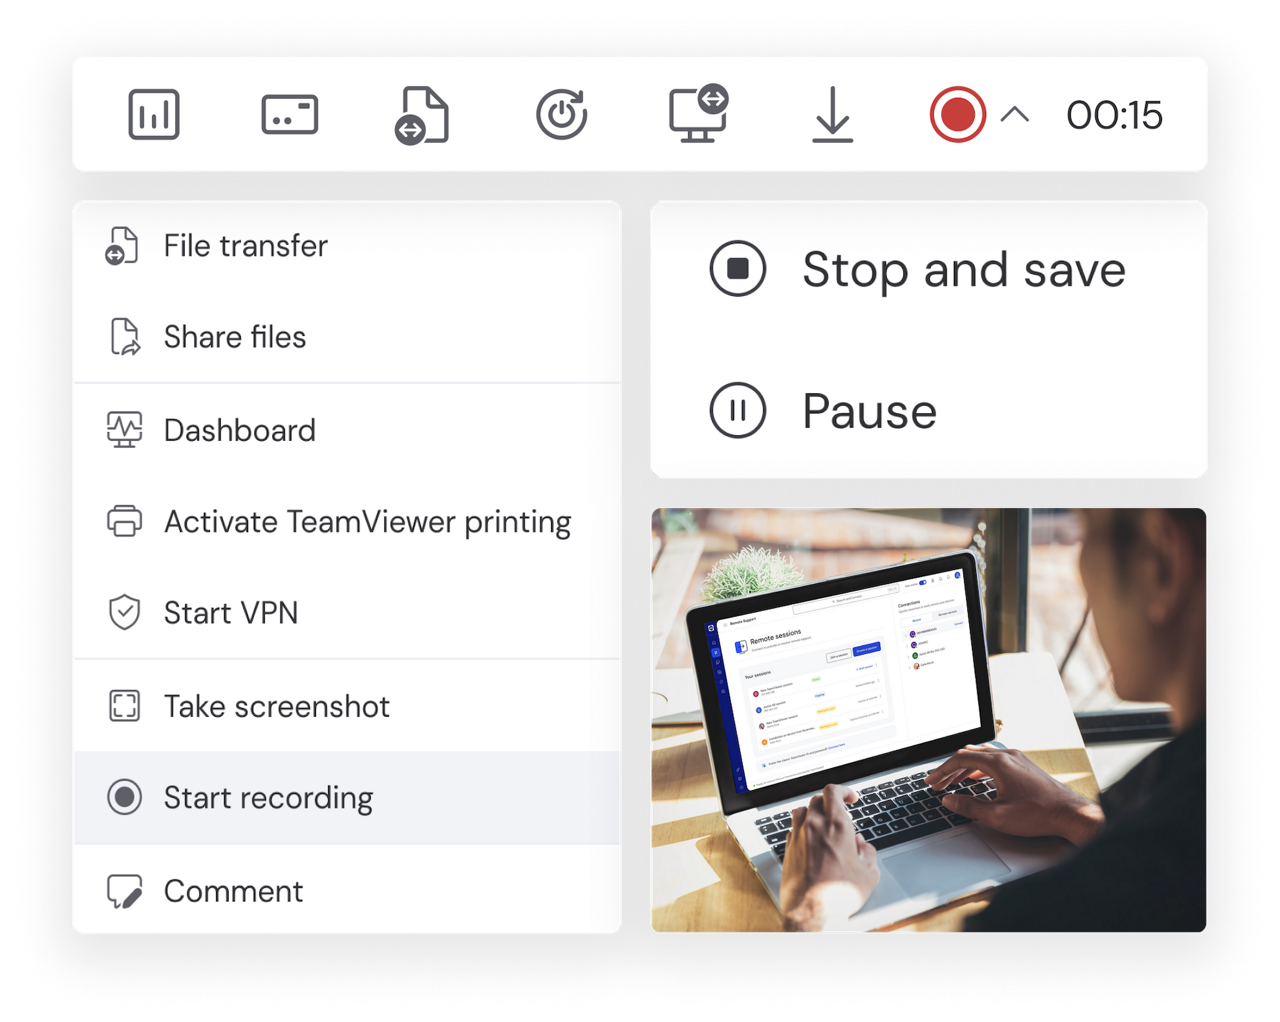
Screen recording is the process of capturing the activities occurring in real-time on the screen of a computer, mobile, or tablet. Beside the visual elements, comprehensive screen recording software should also enable you to capture the device’s system audio and microphone output.
With full remote control and remote access capabilities, TeamViewer Remote allows you to control virtually any other device from a distance, granting you the same functionality as though you were sitting directly in front of it. And once you have set up a connection with the remote device and gained access, you can execute TeamViewer’s screen recording feature to start recording the screen contents.
In this way, TeamViewer Remote can help you get the most out of your remote access software, allowing you to connect to, control, and record the screen contents of any device — right at the point of need — without having to leave your desk.

Common features of screen recording software include the ability to specify what area of a screen you want to record, e.g. the entire screen, a particular area of it, or specific windows or browser tabs. Once you look beyond free screen recording software, more advanced features include being able to highlight mouse cursor movements and keyboard strokes, as well as editing options, such as the ability to annotate recorded video, remove unwanted fragments, and overlay audio commentary.
MP4 is the most commonly used format for saving and storing screen recordings. Video recording software products tend to use this format by default as it can be played back on virtually all devices. It provides a high level of playback quality, while also keeping file size small.
The same technology can be used to generate a solution, either by annotating or providing commentary to the original video recording, or creating a new screen recording. This way, screen recording becomes a way of providing rapid, simplified explanations of both problems and solutions, enabling faster resolution at lower cost.
For real-time virtual meetings, team members can use screen recording software to show colleagues what they are working on. For asynchronous communication, your screen recorder can be used to capture meetings – or key parts of them – for onward distribution to other project participants.
In the context of IT support, customer service, as well as employee training and onboarding, you can build up a repository of screen recording video assets to utilise as go-to fixes for commonly-encountered issues. Greater use of pre-made screen recordings can help to reduce employee workloads by removing the need to generate fresh explanations for each customer or user interaction.
By accessing employees’ devices with TeamViewer Remote and deploying your screen record software of choice, you are able to analyze their work, pinpoint strengths and weaknesses during customer interactions and deliver a meaningful appraisal.
Screen recording capabilities can be put to work for a wide range of internal business, customer-facing, and personal uses. Examples include the following:
Make recordings of video and audio meetings for future reference.
Record webinars and other online presentations for distribution beyond the initial cohort of virtual attendees.
Use screen recording software to provide a walk-through of your digital products.
Capture and record the contents of a user’s screen to help diagnose the cause of technical problems and to identify a fix.
Connect to, control, and record customers’ screens to gain valuable context to their support issues. Provide them with a bespoke support video to resolve those issues.
Create step-by-step contextual videos featuring the business software in your tech stack. Annotate those recordings to resolve queries.
TeamViewer Remote allows you to access another device from a distance, effectively giving you control and visibility over that device as though you were sitting directly in front of it. Once you have accessed your remote device, you can launch your screen recording program of choice and start recording the screen of that device.
Connect to the device you want to record using TeamViewer. Choose your platform to get started.
Looking to remotely control your Android device from your other devices? Setting up TeamViewer’s remote control software is simple.
Access and start using TeamViewer remote control for your iPhone, iPad, Android phone, or Android tablet (any manufacturer) by opening the web client in your browser or following the download link for your device from the website and opening up the desktop client.
Once you are connected to another device, simply launch TeamViewer’s screen recording feature and start recording your remote session.

Use TeamViewer Remote’s screen recording software to capture customers’ screen contents and get an instant grasp of their service queries. Use a further screen recording software of choice to generate a response, combining video screen footage, helpful annotations, and audio commentary.

Establish a connection with remote devices using TeamViewer Remote. Begin recording to capture video footage of the target device’s screen. Review the footage, deliver an instant fix if possible, or escalate the issue to a technician where required.

Utilize the full power of contextual video to bring your pitch to life. Record screen footage to showcase your software or other digital product offerings in action. Play physical product demonstration videos on your screen to relay the footage to prospective customers.

Use TeamViewer’s screen recording feature to create visually rich, hyper-relevant training material that learners can keep and refer back to in their own time. Capture learners’ screen contents, track their progress, share comments, and provide the type of personalized, instant feedback that will really hit home.
Spotlight