
Knowledge Base
Get started with your TeamViewer ONE license
Last Modified 12 июн. 2026 г.
Getting started with your TeamViewer ONE Standard or Advanced license is the first step toward unlocking the full potential of your endpoint management solution. Designed to go beyond traditional remote support, TeamViewer ONE empowers you to manage, monitor, and support your devices efficiently and securely. In this article, we’ll guide you through the activation process step-by-step, so you can get started quickly and confidently.
This article applies to all TeamViewer ONE license holders.
How to get started with your TeamViewer ONE license
To get started with your TeamViewer ONE license, please follow the instructions below:
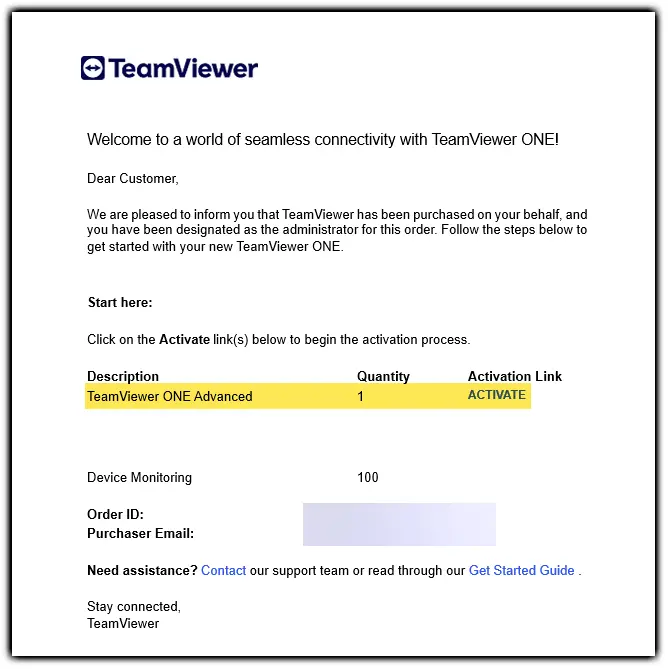
Step 1: Click the activate button
Open the license activation email that was sent to the email address provided at the point of purchase. Next to TeamViewer ONE Standard or Advanced, click Activate.
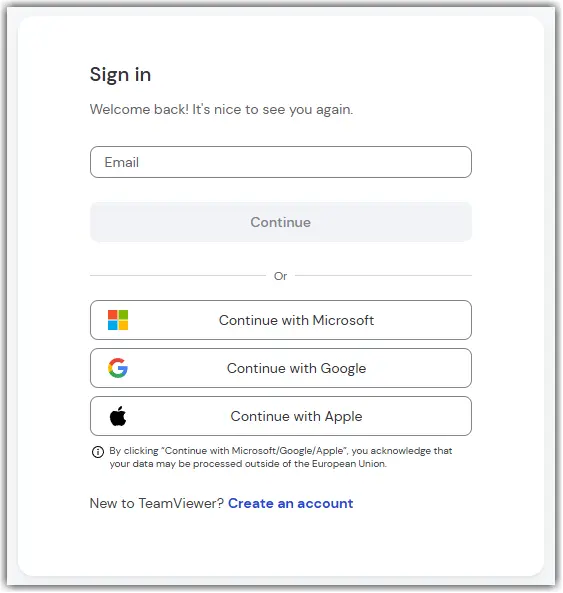
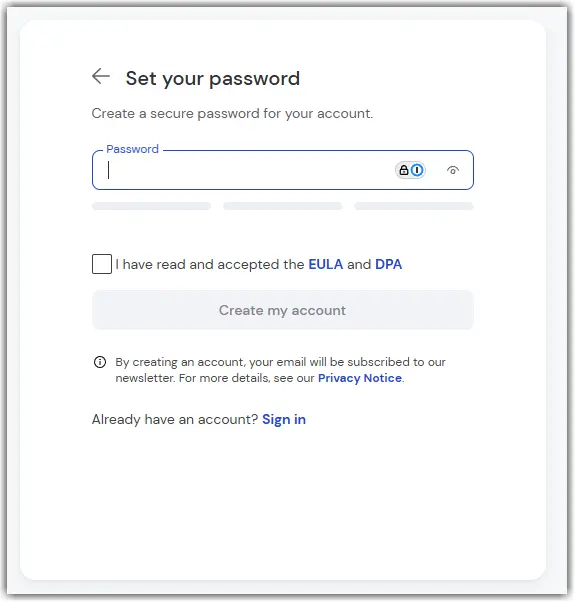
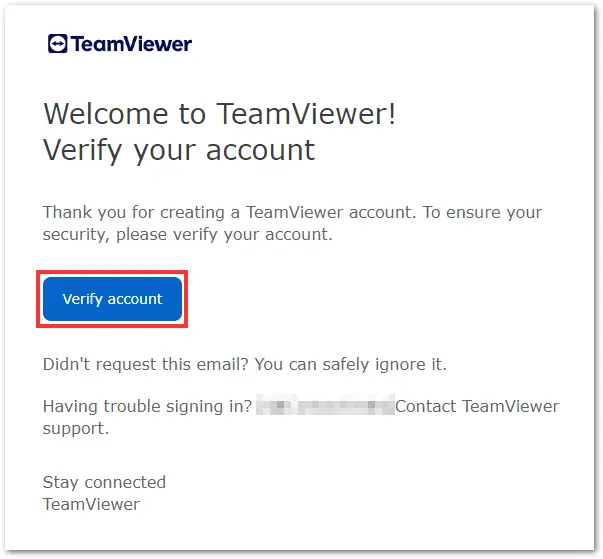
Step 2: Sign in with your admin account or create a TeamViewer account and activate the license
Step 3: Click the activate button
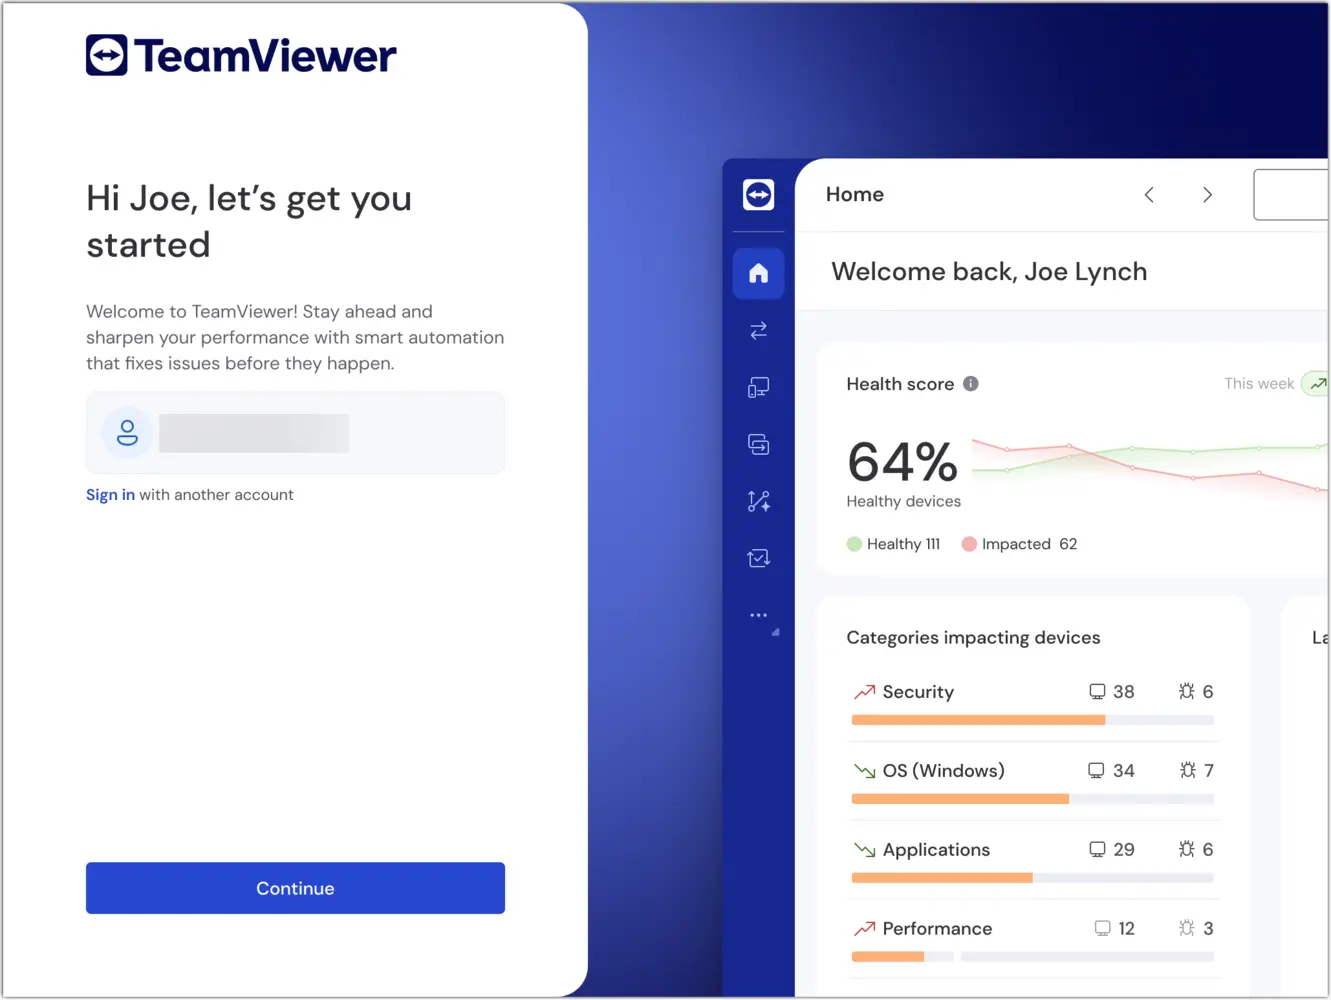
An activation page will appear. Click Continue.
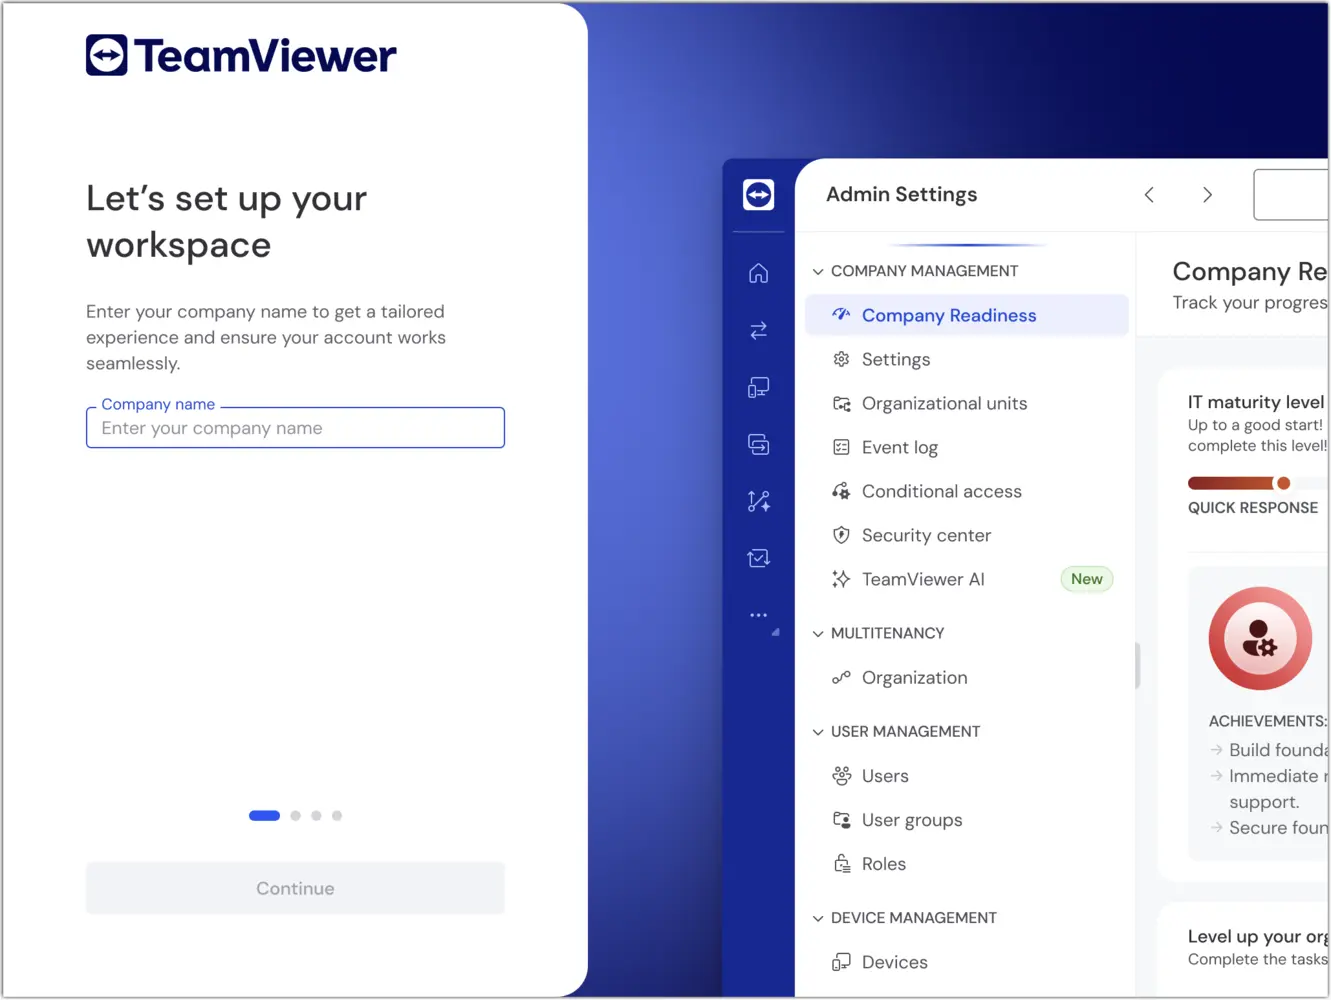
Step 4: Create your company
Now, enter your company name, and click Continue.
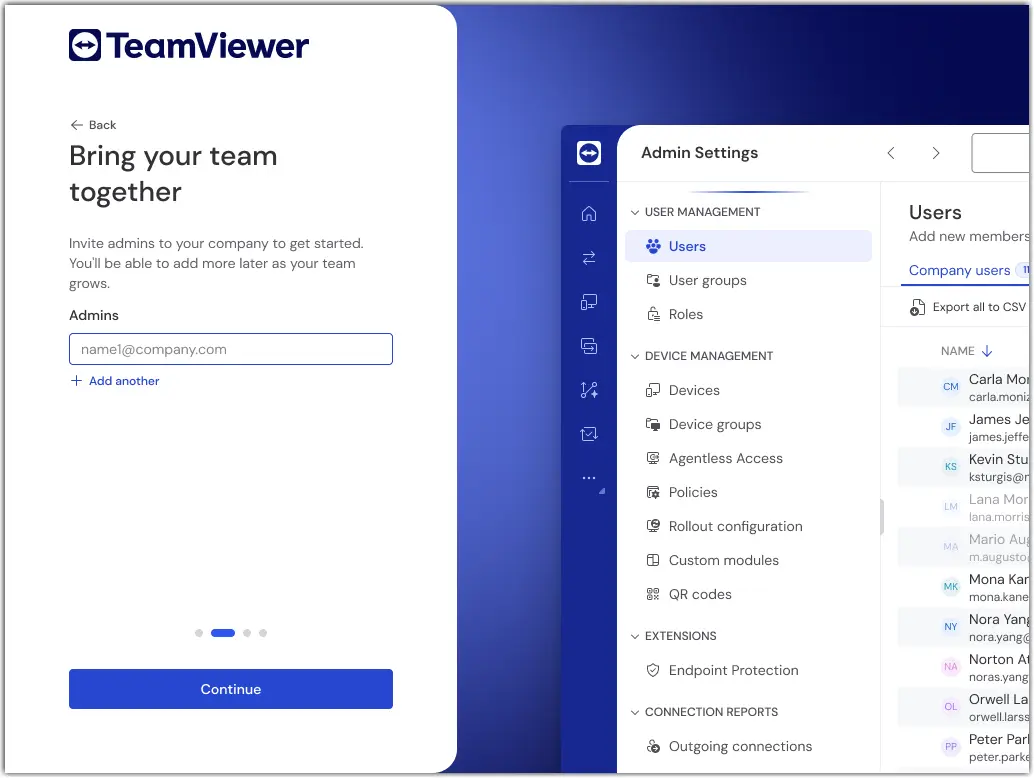
Step 5: Add your admins
You'll be prompted to enter administrator email addresses. Click the Continue button. You can add administrators later, as explained in Step 8 of this guide.
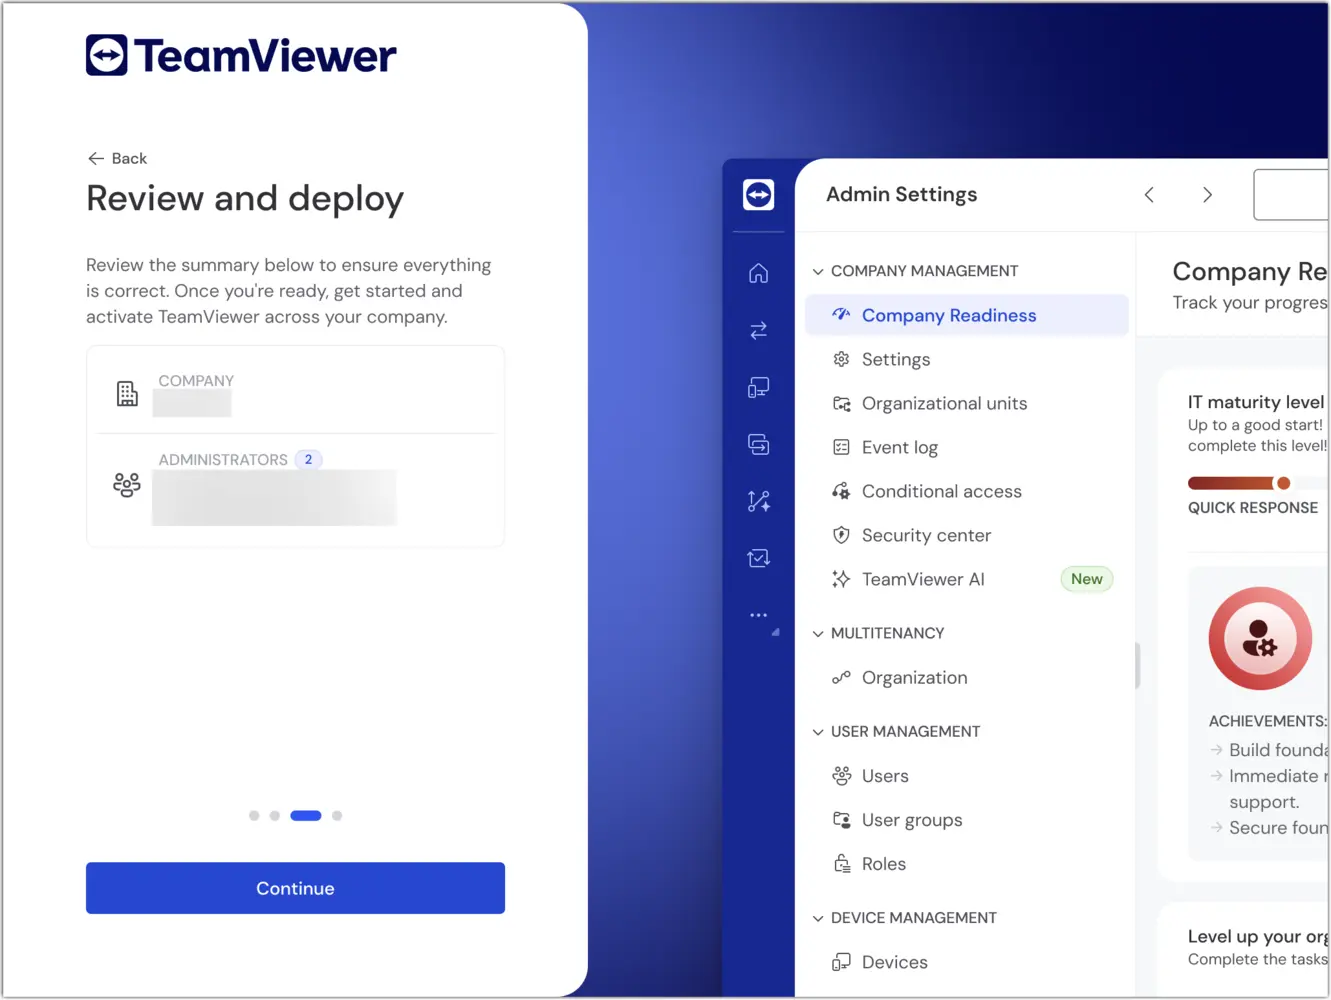
Step 6: Review and deploy
Review the summary to ensure the company details and administrator list are correct. Click the Continue button to activate the account.
Step 7: Complete the setup
You have completed the onboarding. We will now walk you through getting your company ready and deploying TeamViewer.
Note: Activating TeamViewer DEX Essentials services may take up to five minutes.
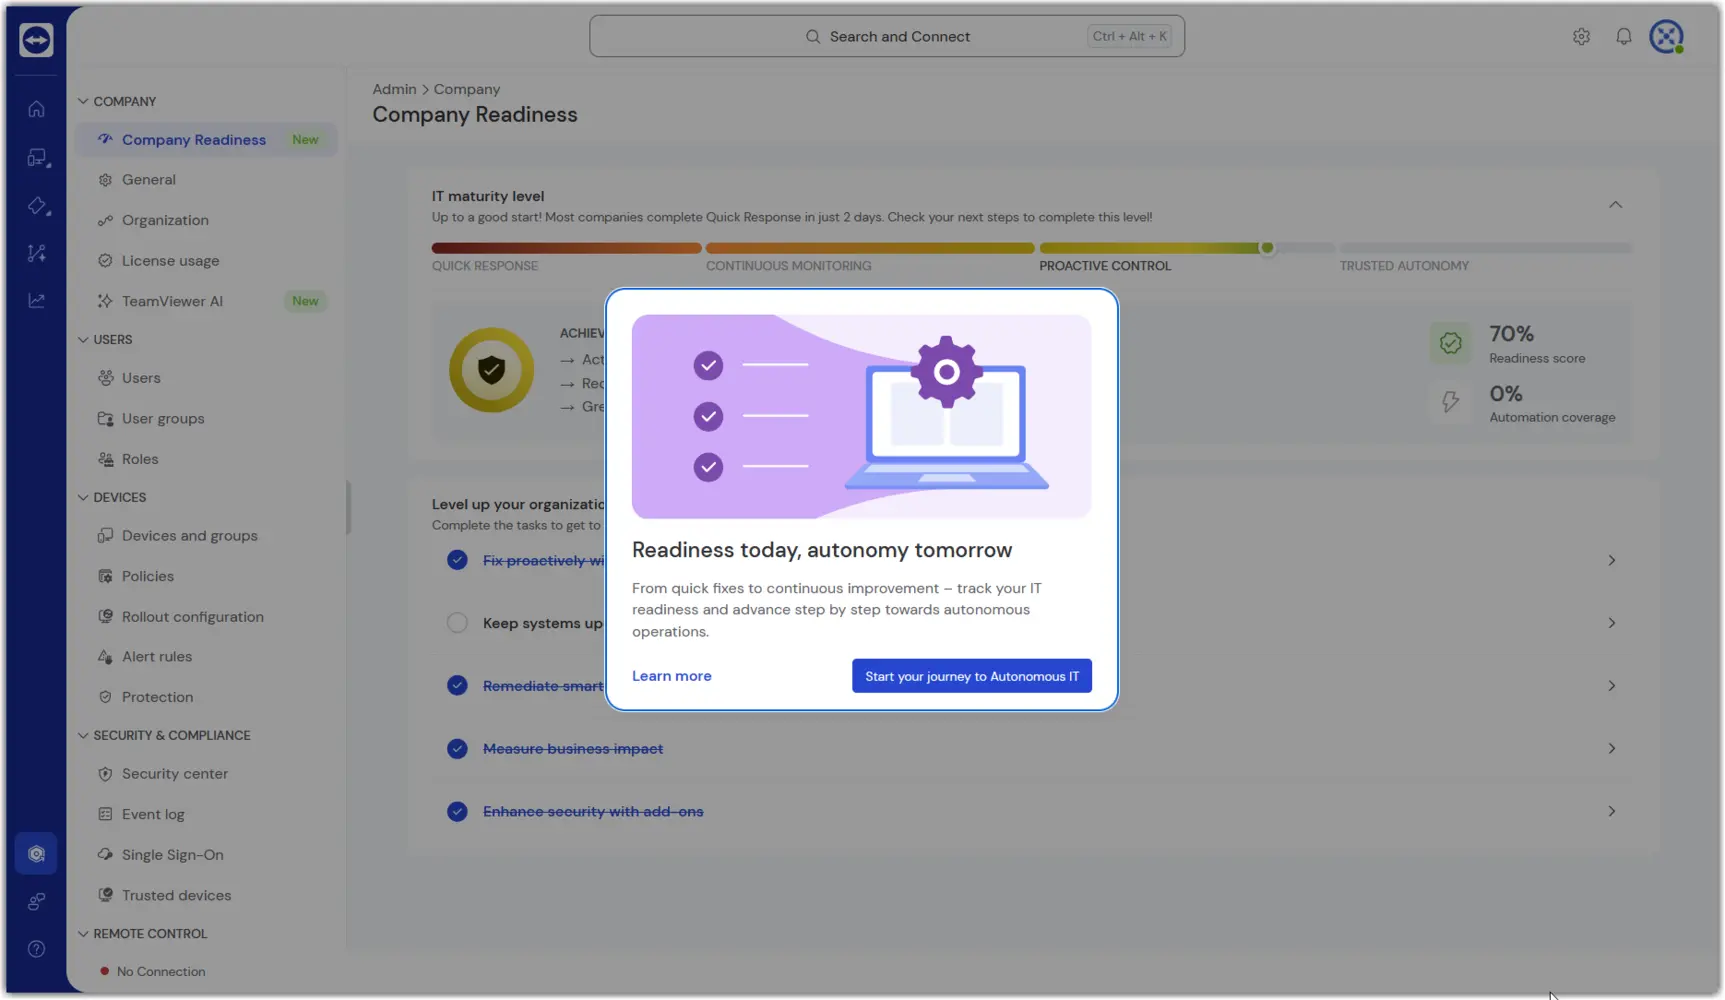
For more information on TeamViewer DEX Essentials, please see the article below:
Step 8: Assign the license to your users
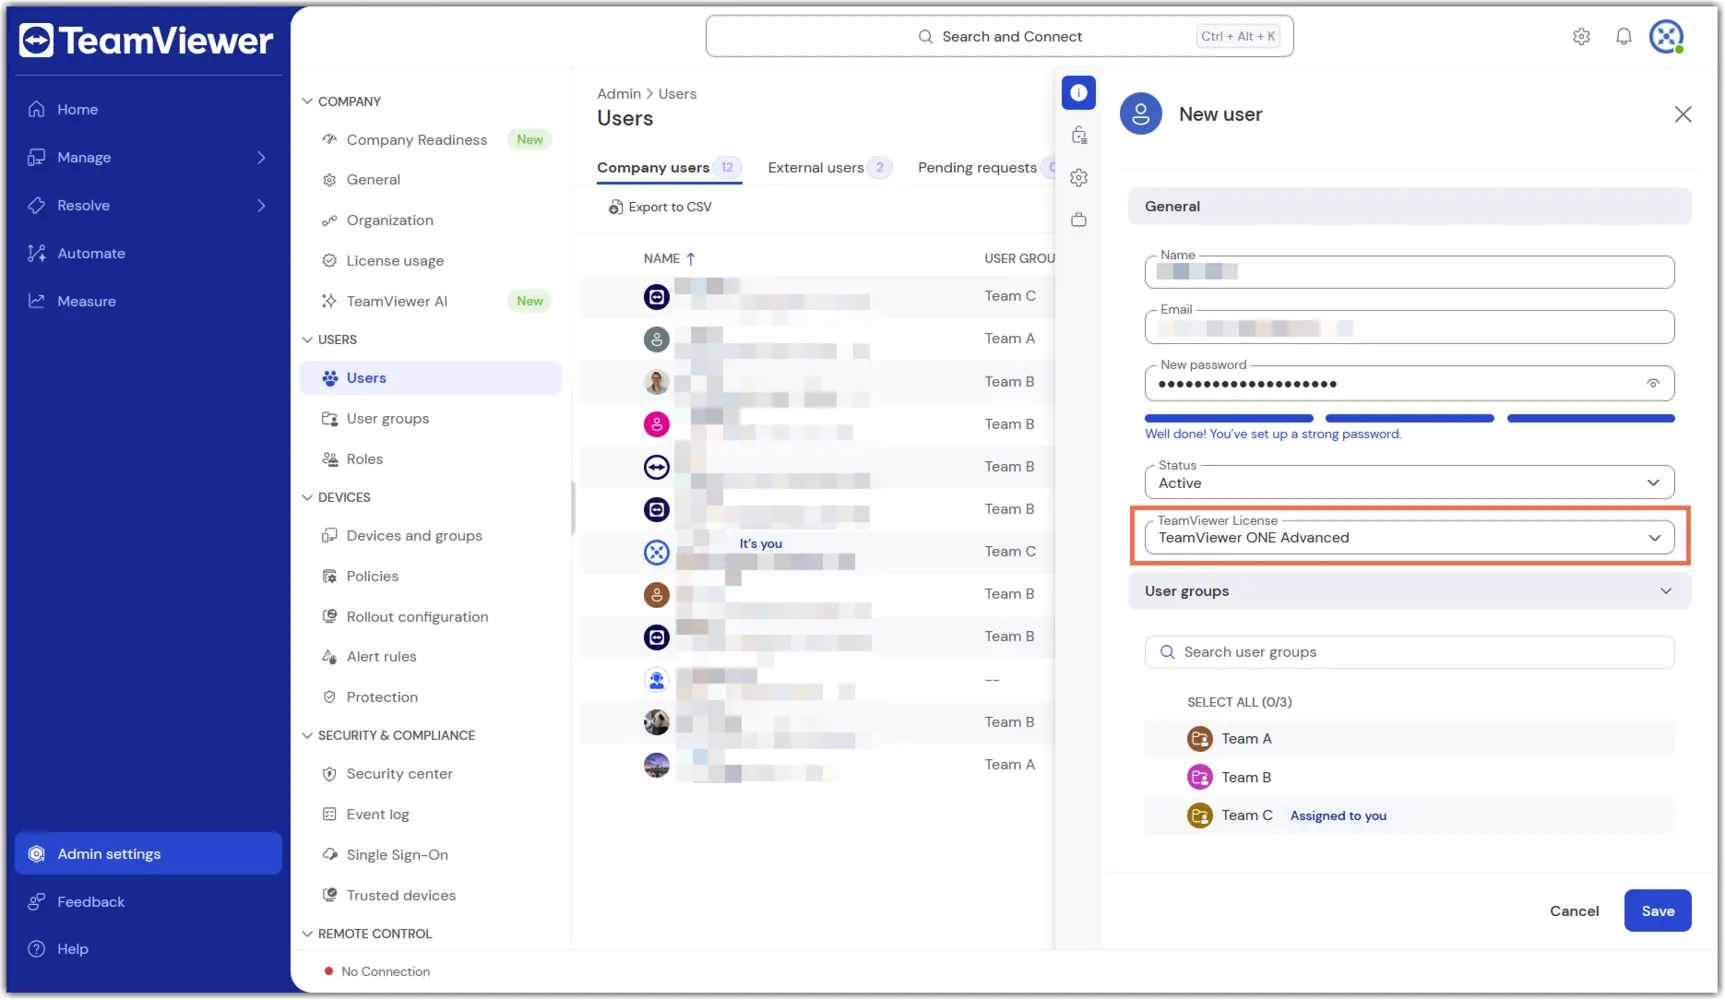
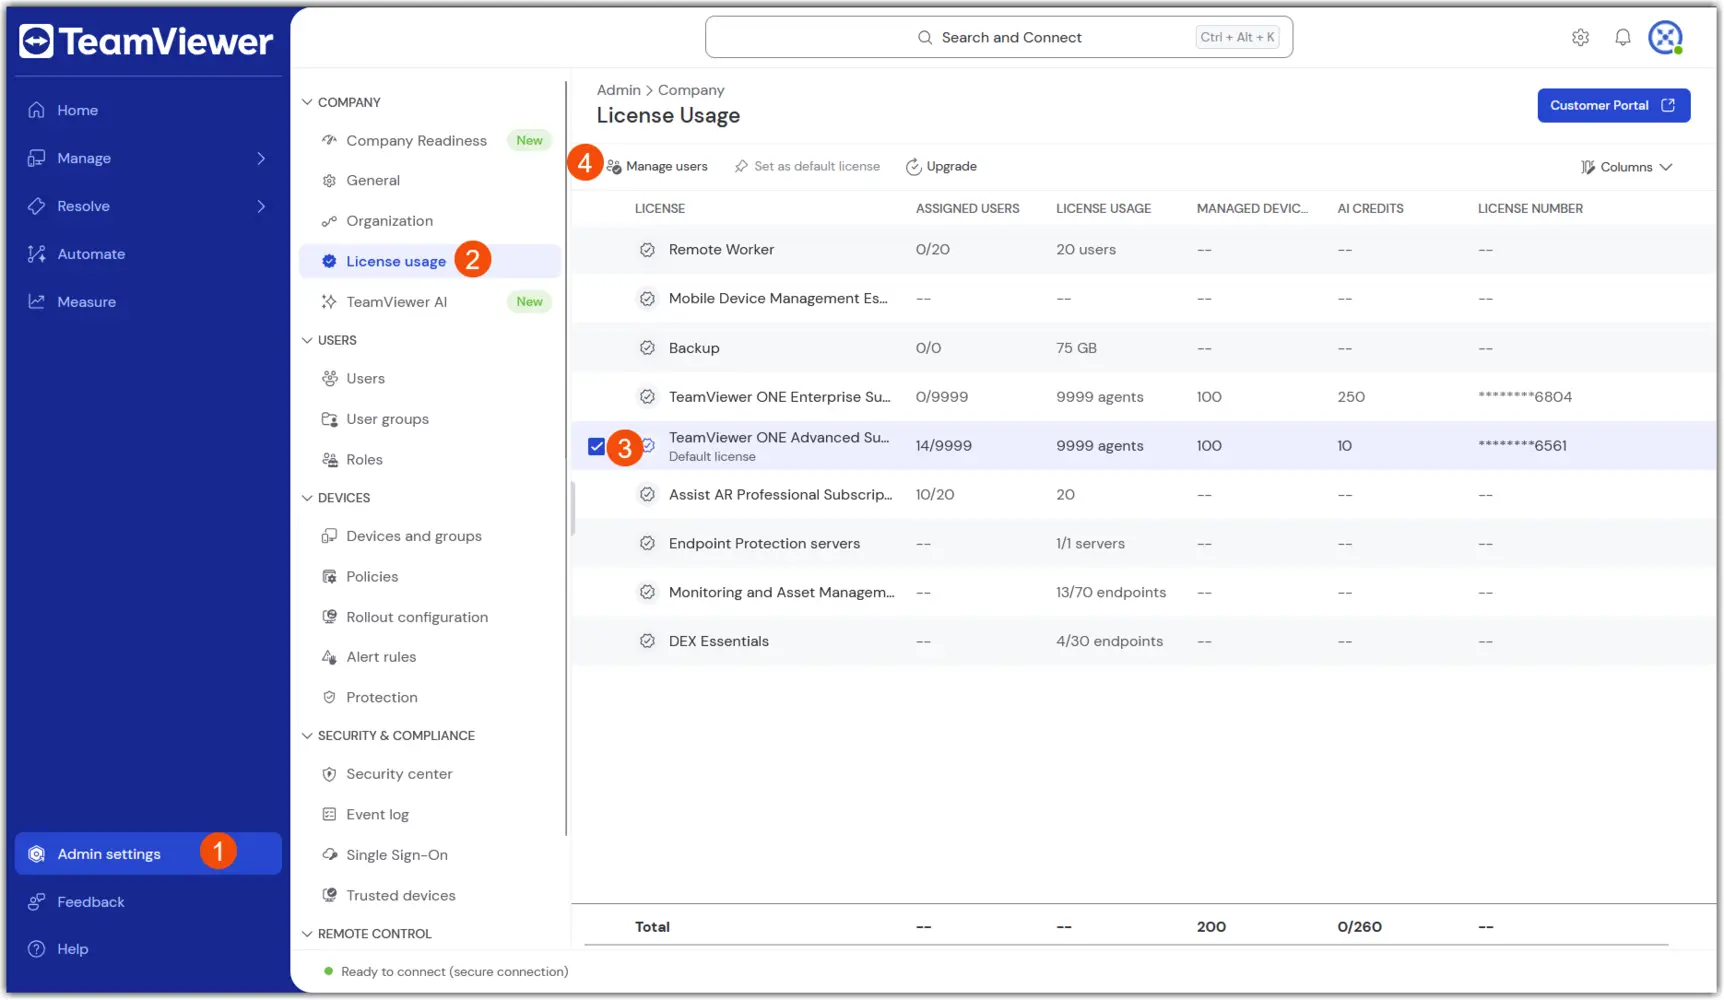
You have successfully activated your TeamViewer ONE license.
Step 9: Add devices to your account or company
After assigning the license to your users, you can add devices to your account or company. There are three ways to do this:
For additional information on how to set up your TeamViewer environment, please see the article below:
Auto-service activation
Auto‑service activation in TeamViewer ONE eliminates the need to manually activate individual services, such as DEX Essentials, Device Monitoring, and Asset & Patch Management. After you activate the license for your Company Profile, TeamViewer ONE handles service activation automatically:
- For existing devices: TeamViewer ONE automatically activates the services on all devices already associated with the account(s) or Company Profile.
- For new devices: TeamViewer ONE automatically activates the services on any new devices you add to the account(s) or Company Profile after you confirm the assignment.