There is a common integration client for the Jira Cloud platform, which can be found at Atlassian Marketplace.
Please keep in mind that Integrations are not included in basic license packages. They have to be purchased separately as AddOns. For more information, please visit our website: http://www.teamviewer.com/integrations
Installing the plugin
Install the TeamViewer plugin using the steps below:
- Log into your Jira Cloud instance as an admin.
- Click the Settings menu and then select Apps.
- Click Find new apps on the left-hand side of the web page.
- Locate TeamViewer plugin for Jira via search for “TeamViewer for JIRA Cloud”.
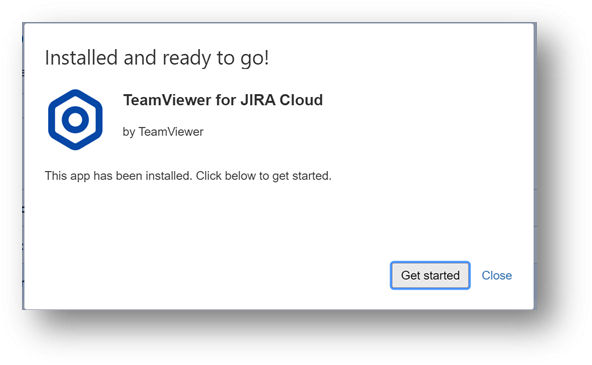
- Click Install to download and install the TeamViewer app.
Configure the plugin
To configure the TeamViewer plugin, first, you will need to configure the customer text that will be added to the ticket when a session is created. To set this up, follow the steps below (like Jira Server):
- Log in to your Jira instance as an admin.
- Click the Settings menu and then select Apps.
- Select Manage apps and then select TeamViewer for JIRA Cloud from the list.
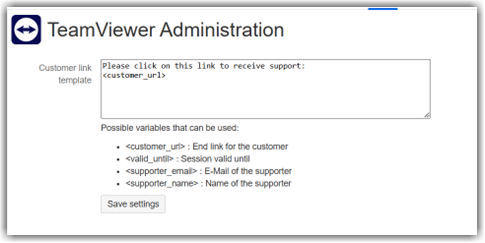
- There you can edit the desired text using 4 available variables as shown in the image below. Once finished click Save Settings.
Linking the plugin to your TeamViewer Account
Once you have successfully installed and configured the TeamViewer for Jira Cloud plugin, you will need to link to an eligible TeamViewer account before you can use the functionality.
You can easily do this by following the steps below:
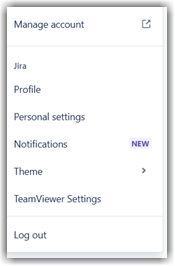
1. Click your avatar at the bottom left corner.
2. Select TeamViewer Settings as shown in the image below:
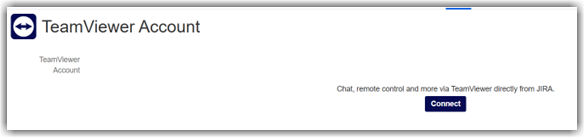
3. On the next window, click the Connect button as shown below and login with your TeamViewer account credentials. You will only need to perform this task once the account hash is stored in the Jira instance.
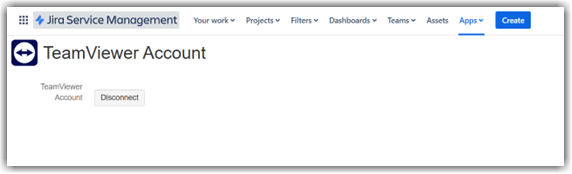
To disconnect/unlink a TeamViewer account from a Jira account, go to the same TeamViewer settings and select Disconnect, as shown in the image below.
Eligible TeamViewer licenses
For information on what TeamViewer licenses are eligible for use with the TeamViewer for Jira plugin, please visit:
Use TeamViewer Integration for Jira to discuss issues with your colleagues fast and easily. Share your screen from a Jira issue and present it.
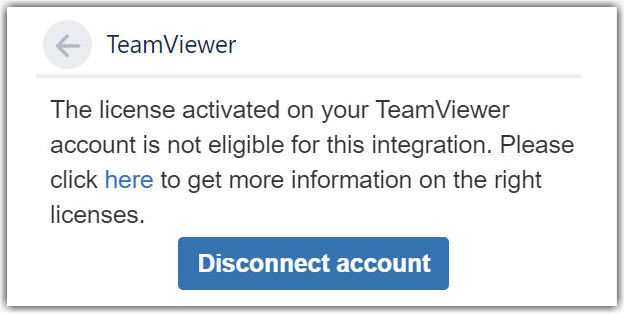
If the TeamViewer license activated on your TeamViewer account is not eligible to use the integration, you will see the following message in the plugin.
Integration usage scenarios
Once your eligible TeamViewer account has been connected you can start using the plugin. There are 2 main functions:
- Real-time interaction: If the submitter or assigned users have TeamViewer accounts associated with their Jira accounts (same email) you will see options to either collaborate with them (remote control, presentation, chat, call) if they're online or will be given the option to send them an invite if they're not in your Contacts list.
- Asynchronous interaction: If the submitter or assigned user is not connected to your TeamViewer account or is not online, you then have the option to create a session and share an invite to a remote control session on the ticket. They will receive a notification and can connect when they’re available.
Interaction with other online users
Prerequisites for interacting with online users
This functionality is only supported in Jira Server, Jira Datacenter, and Jira Cloud versions. In Jira Service Desk only the asynchronous interaction mode is supported.
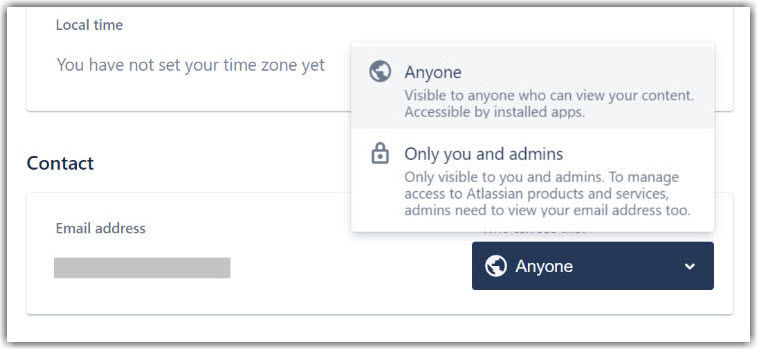
Moreover, in order for this feature to be available, all users will need to enable public visibility of their email address, as this is used for contact mapping from the TeamViewer plugin.
This can be set in Settings icon ➜ Atlassian Account Settings ➜ Profile and Visibility. As shown below, the email address needs to be made visible to Anyone.
Adding a user to your contacts
After you have successfully connected your TeamViewer account, the TeamViewer integration app will try to match the email address of the Submitter, Assignee and any Commentators to contacts in your TeamViewer account.
If the other parties have not shared their email addresses, you will see the screen below:
If they have shared their emails, but are not in the logged-in user’s contacts list, you will be able to add them easily by clicking the Add button (shown below):

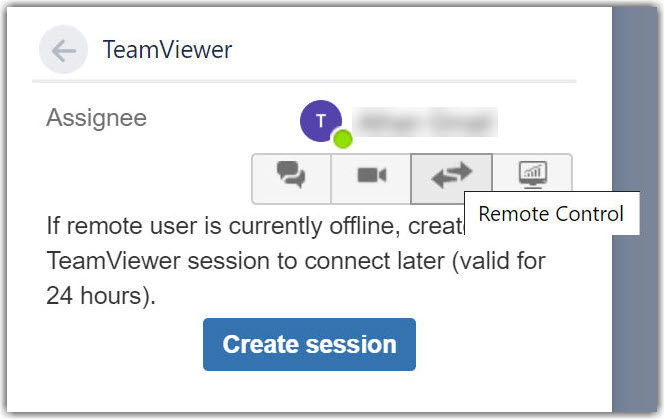
Once the other party has accepted your invite and is online, then you will have the following interaction modes available:
- Chat
- Video call
- Remote control
- Presentation
, as shown in the screenshot below:
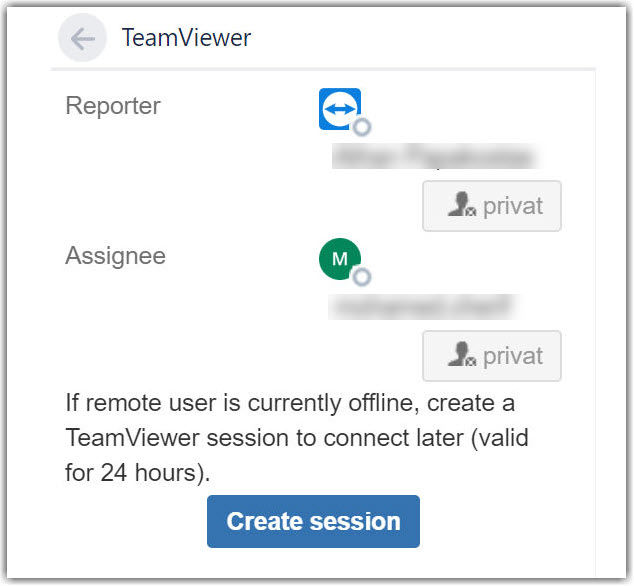
Asynchronous interaction with other users
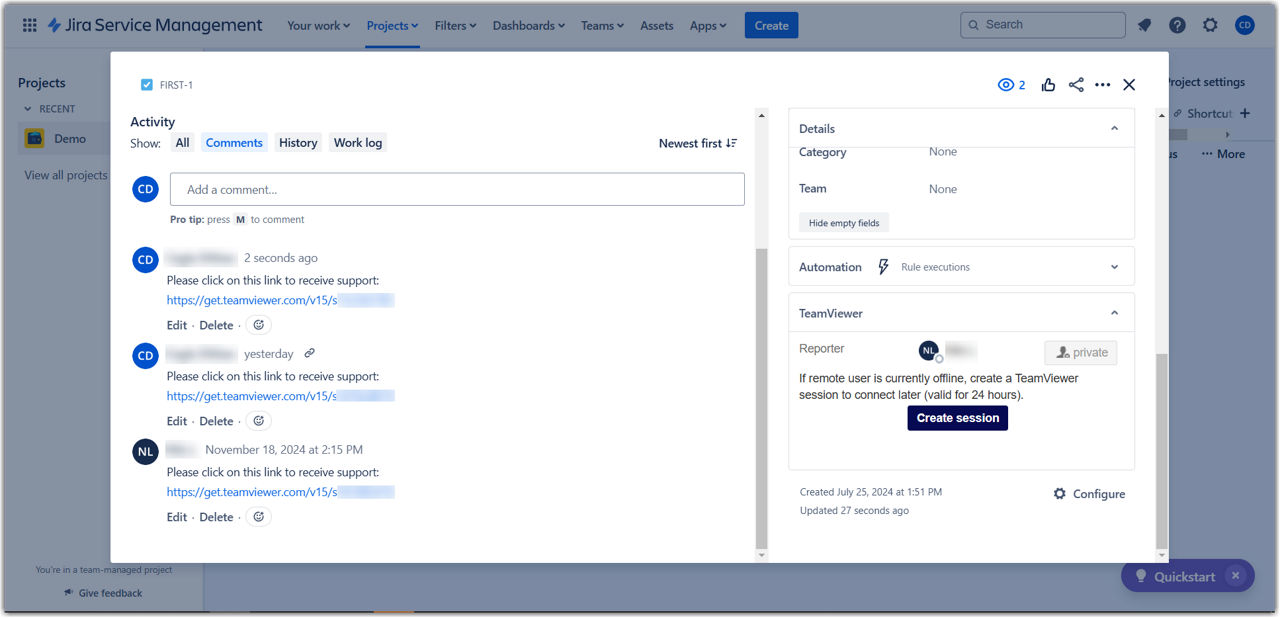
If the other parties are not available, then you have the option to create a TeamViewer session. This is essentially an invitation to start a remote control session and is valid for 24 hours by default. Once you create the session, the invitation will be added to the ticket.
In order to connect to the remote control session as the supporter, you will need to select the Connect to session button in the TeamViewer plugin.
Below is a screenshot of a created session.