Knowledge Base
Settings - User Management
Last Modified 15 окт. 2024 г.
Tab: Users
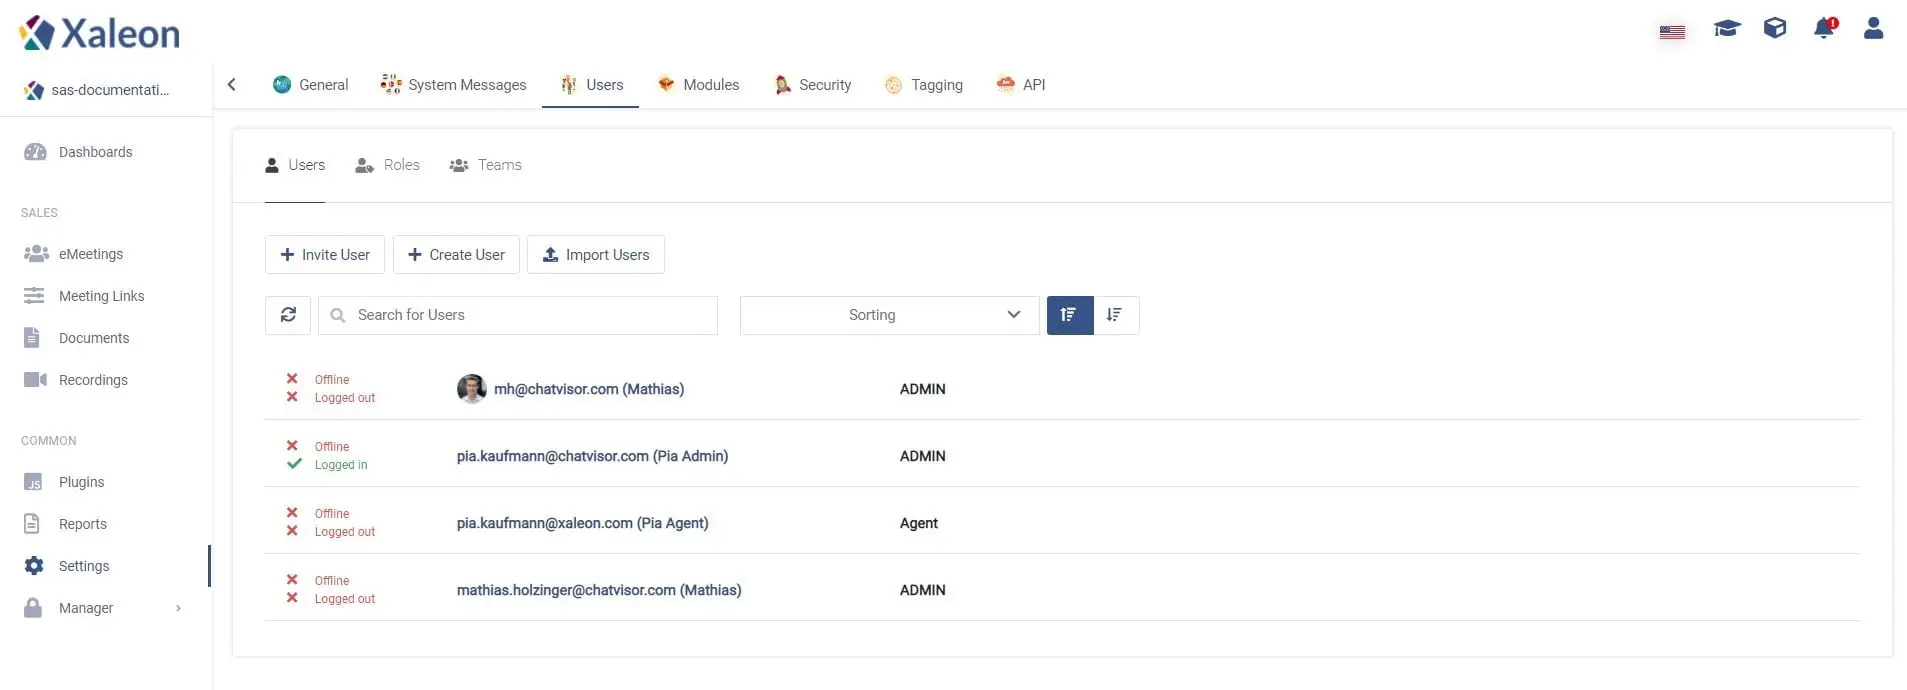
On the left side of the email you can see whether or not a user is logged in/logged off and Online/Offline* (by clicking the green button in the navigation bar).
You can create users in three different ways:
- By clicking
+ Invite User- those users will receive an Email - By clicking
+ Create User- this user will directly be created by entering an Email and a password - By clicking
Import Users- import users using a CSV file
💡Hint: Here is a guideline that will help users sign up: User Manual: Create User Account
User Configuration
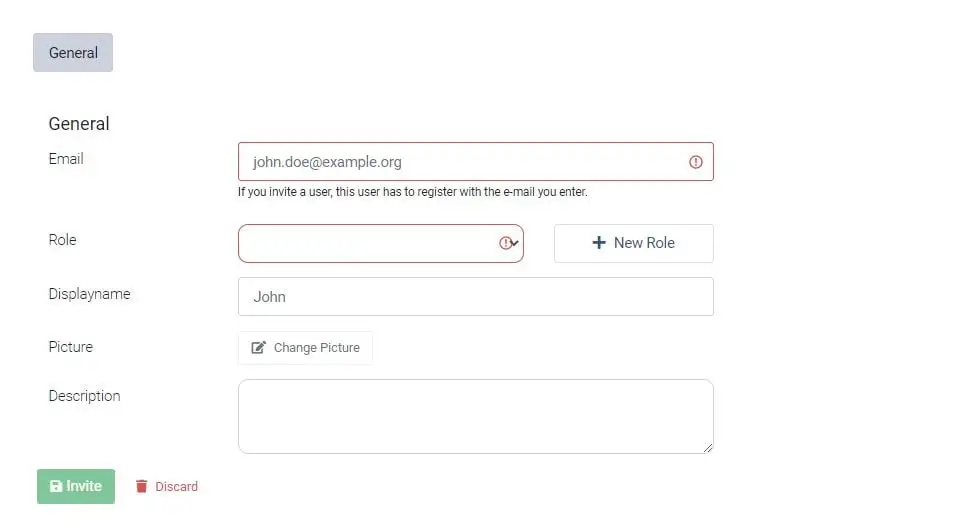
General
(work) email address user shall get invited to | |
Role | assign the right permission to the user using Roles |
License | give every user the right license |
Display name | name that will be visible to customers when chatting through Live Chat |
Picture | Upload a picture for the user, which will be visible during a Live Chat conversation |
Description | Add a description to the user |
Tab: Roles
With Roles you define who will be able to use what feature and access what part of the platform.
📌Note: By default, there's only the Admin role. Admins have access to all parts of the application and can manage settings.
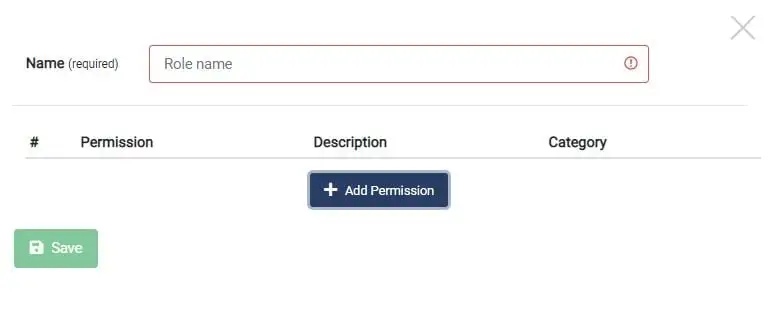
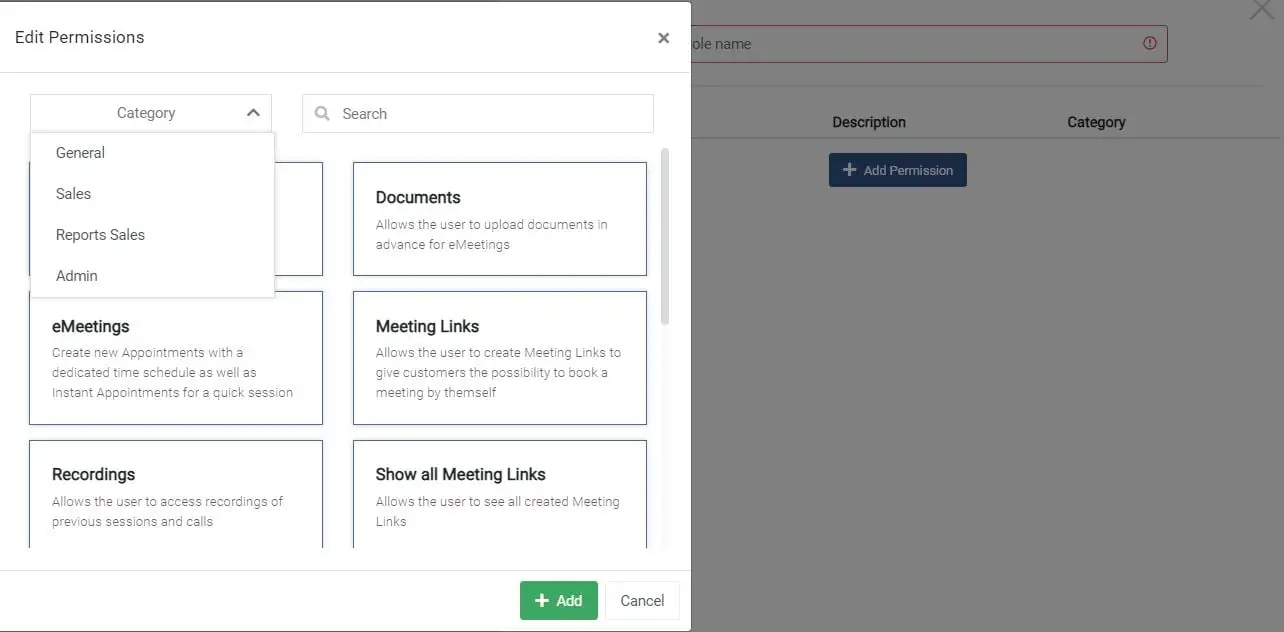
Edit Permissions
Permissions of every role can be edited by simply clicking the concerned card.
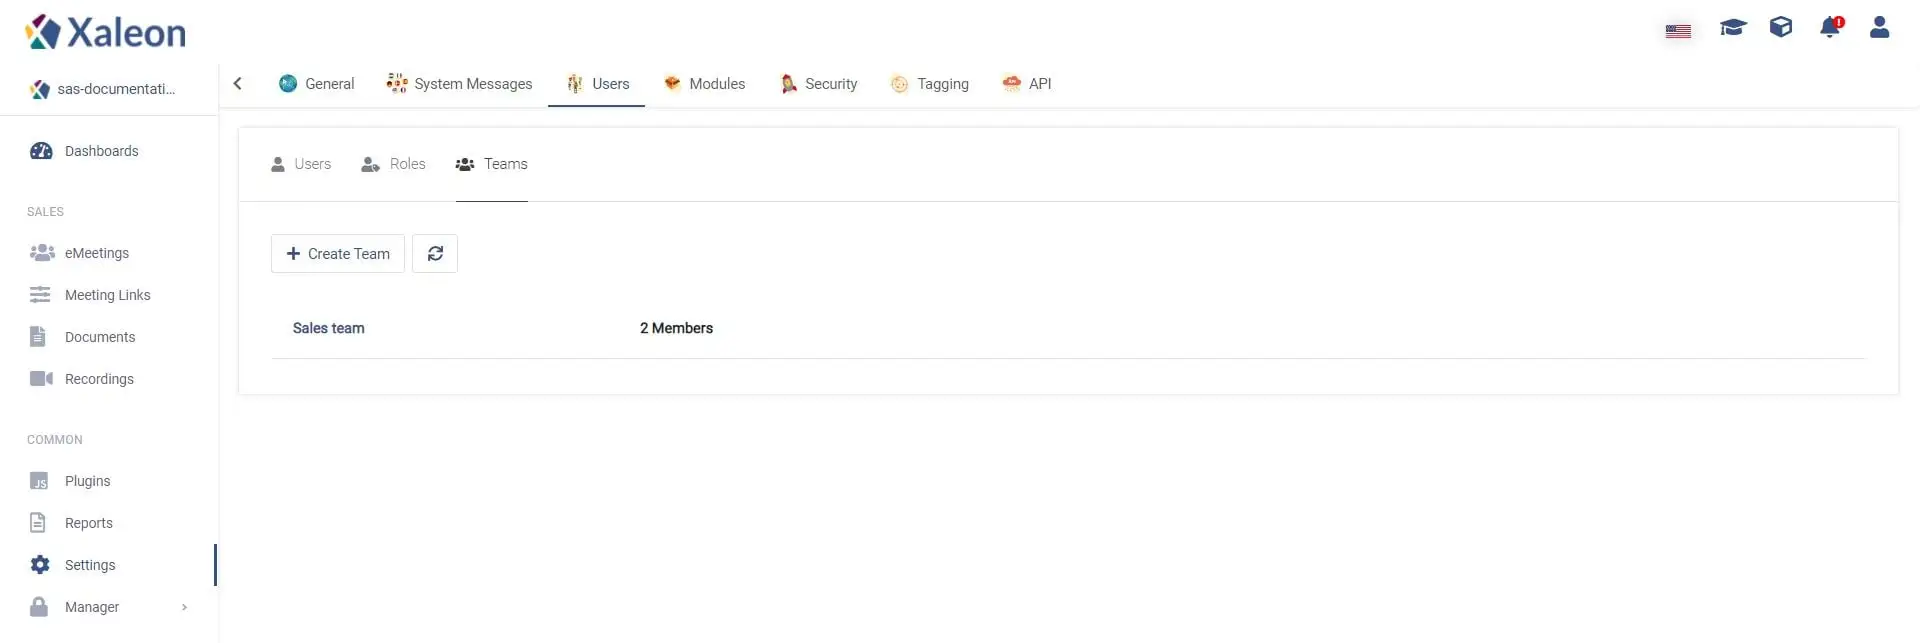
Tab: Teams
Organise users according to their responsibilities and competences.