Managing your users allows you to efficiently oversee and control access within your organization. In this article, you will learn how to filter and search for users, bulk edit users, and reset a user’s password.
This article applies to all Premium, Corporate, and Tensor customers.
How to bulk edit users
You can apply changes to multiple users at once via bulk editing.
To bulk edit users, please follow the instructions below:
- Go to Admin settings.
- Within the User management section, click Users.
- Select the desired users.
- Click Edit.
- Select which change you want to execute. You can change the remote control settings, assign or unassign roles, enforce, remove enforcement, or deactivate two-factor authentication.
Your change will apply to all the users you have selected.
How to filter and search for users
You can use filters to quickly find the desired users.
- Go to Admin settings.
- Within the User management section, click Users.
- On the top-right corner of the screen, click Add filters.
- Select the filters you want to apply and click Apply.
The results will automatically appear on your screen.
You can add columns if you want to display more information about your users:
- On the top-right corner of the screen, click Edit columns.
- Tick the columns you want to display.
You have successfully adjusted the user view.
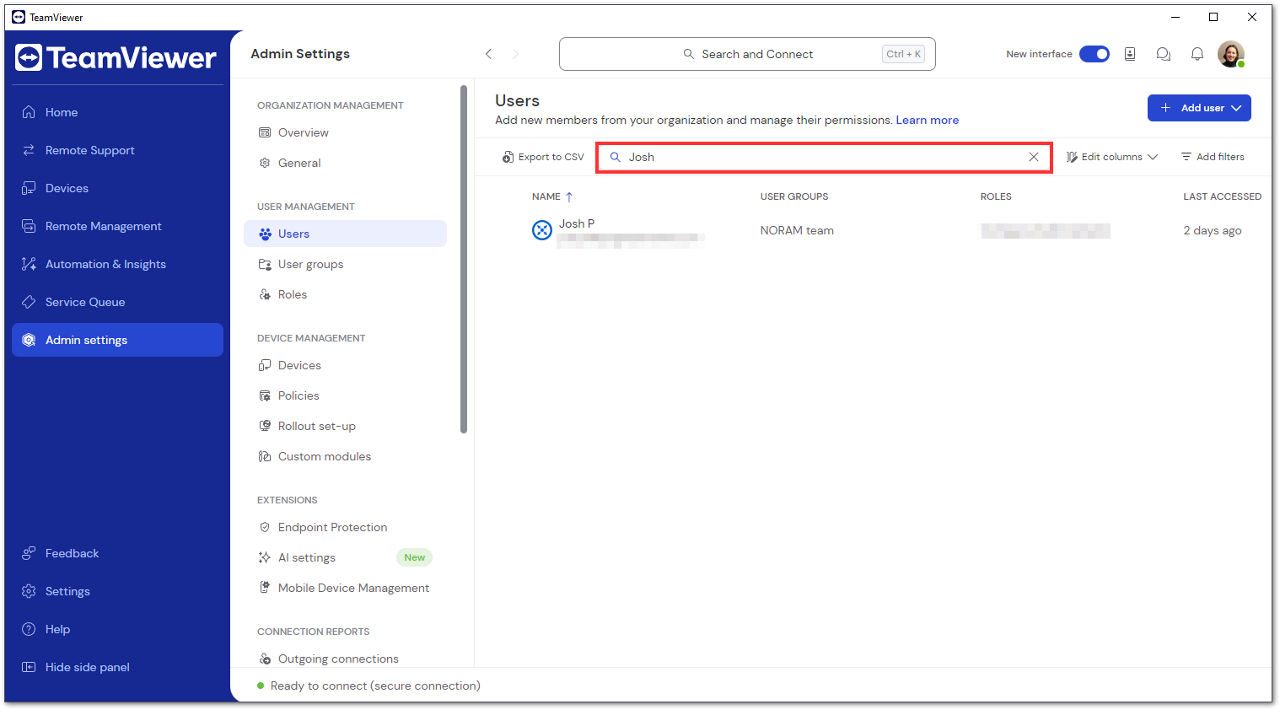
You can use the search functionality to find a specific user:
- Go to Admin settings.
- Within the User management section, click Users.
- On the top-right corner of the screen, click the search icon.
- Enter a username or the e-mail address of a user.
The results will automatically appear on your screen.
How to reset a user’s password
If a user forgets their password, you can reset it for them.
To reset a user’s password, please follow the instructions below:
- Go to Admin settings.
- Within the User management section, click Users.
- Click the desired username. The editing panel will open.
- Click the Reset password button.
- Enter the user’s new password and click Change.
You have successfully changed the user’s password.
How to assign the license to user(s) on a company profile
In some cases, users on a company profile may appear as free users, especially after upgrading or changing a license. The company admin can resolve this by following the steps below:
- Via TeamViewer Remote
- Via Management Console
- Open TeamViewer Remote.
- Go to the Admin settings.
- Locate User management and click Users.
- Click on the user name you wish to change the license which displays the side menu.
- Go to Licenses, and click the Edit button.
- You can choose the company license from the TeamViewer License drop-down.
- Click Save.
Note: Affected users should log out and then back in to see the licensing changes.

- Log in to the Management Console.
- Click Company administration on the left-hand side.
- Select the Licenses tab.
- Locate the license, and hovering the cursor over the license will produce a three-dots menu. Click the three-dots menu and select Assign from the drop-down.
- The users who show 'free' will appear in Unassigned. Select the desired users and click the Add button at the bottom of the page.
Note: Affected users should log out and then back in to see the licensing changes.
