Apr 7, 2020

Coping with corona: 5 tips for working remotely

  • Connect and support people
  • To help you work from home as productively as possible, we’re sharing a 5-Step Guide to Working Remotely with TeamViewer.

    After you get TeamViewer set up for your home office with these 5 steps, you’ll be able to access and use all your company files and applications as though you were still at work.

    Let’s get started.

    Step 1: Get your systems ready

    Install TeamViewer on your work computer, create an account, and set up Easy Access directly from the Remote Control tab.

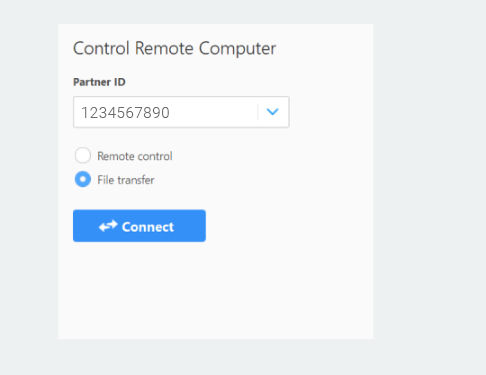
    At home, you only have to install TeamViewer on your local computer and log in to your TeamViewer account. You can now connect with 1 click from your Computer & Contacts list. More details

    Step 2: Control your remote device

    Now you can work as if you were sitting in front of your office computer.

    If you are remotely connected to a device with multiple monitors, you can even switch between these monitors. Learn more about Multi-Monitor Support.

    Step 3: Enable black screen

    Want to keep your work private? Black Screen* ensures that your remote computer is… black!

    Just select “Show black screen” in the TeamViewer toolbar or make this turned on always via Device Properties in your Computer & Contacts list. Explore remote work plans

    *This feature is available for licensed users only.

    Step 4: Use file transfer

    Easily share large amounts of data. All file transfers are encrypted, fast, and direct.

    Transfer files easily via drag and drop, choose file transfer during remote sessions, or directly from the TeamViewer Remote Control tab.

    Step 5: Print remotely

    Print remote documents on your home office printer – no file transfers are required.

    Simply install the TeamViewer print driver in the Advanced Options menu. Your local printer will now be displayed in the print dialog labeled “TeamViewer”.