Within your company, you can assign a device to a particular group. Once the assignment is complete, the managers of that group will be able to manage the device according to their granted permissions.
This article applies to Business, Premium, Corporate, and Tensor customers.
Note: Business license holders can only create a Company. Adding additional users to the Company is not possible, as the Business license is a single-user license. If you are interested in a multi-user license, please contact our Sales team or upgrade your license online.
Step 1: Create a rollout configuration
To create a rollout configuration, please follow the instructions below:
- Go to Admin settings.
- In the Device Management section, click Rollout set-up.
- Click the + Create Configuration button.
- Enter a name and click Continue.
- Select the groups to which the remote device should be assigned and click Continue.
- Select which users or which user groups should be managers of the remote device and click Continue. (Selecting user groups is only available to Tensor license holders.)
- You can select a group's policy for the remote device and click Save.
You have successfully created your rollout configuration.
Step 2: Create a custom Host
To create a custom Host, please follow the instructions below:
- Click the Admin settings on the left side of the interface.
- In the Device Management section, click Custom modules.
- Click Create custom module and select Host.
- Customize your Host as you like, select the rollout configuration you created earlier, and click Save.
- The custom Host download link will be generated. Save this link for later use.
You have successfully created your custom Host.
Step 3: Install the custom Host on the remote side and assign the device via custom Host to your company
To install the custom Host and assign the device to your company as a managed device, please follow the instructions below:
- Share the custom Host download link created earlier with the remote user.
- Open the download link in a browser.
- Download and install the custom Host.
- Once installed, you will be prompted to allow the assignment. Click Allow and finish.
You have successfully assigned the device as a managed device to your company.
View device and group permissions
The newly added device will show up within the respective device group.
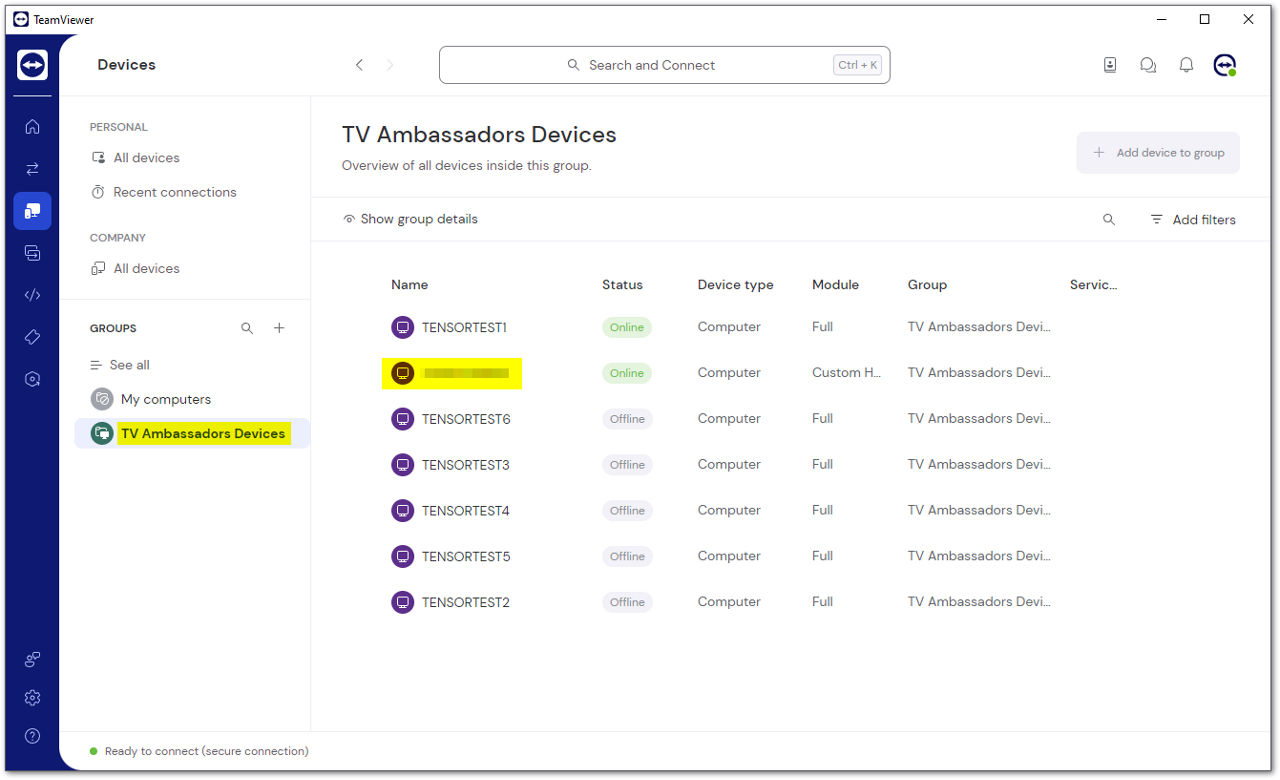
The group permissions will be applied to the device.
You can view the permissions that are applied to the device by clicking on the device, accessing the Permissions (key icon), and clicking See group permissions.
If you need to change these permissions, click Edit group permissions.
Please find here more information on how to edit manager permissions via device groups .