Step 2: Add your users to your company
Step 3: Create your module
Step 4: Download the .msi installer
Step 5: Create your policy
Step 6: Create a managed group
Step 8: Deploy the install command via your MDM
Now, deploy the install command via your MDM using our recommended install commands below:
Command line for the TeamViewer Host
start /wait MSIEXEC.EXE /i "PATH_TO_MSI_FILE\TeamViewer_Host.msi" /qn CUSTOMCONFIGID=YOUR_CUSTOM_CONFIG_ID ASSIGNMENTID=YOUR_ASSIGNMENT_ID
Command line for the TeamViewer full client:
start /wait MSIEXEC.EXE /i "PATH_TO_MSI_FILE\TeamViewer_Full.msi" /qn CUSTOMCONFIGID=YOUR_CUSTOM_CONFIG_ID ASSIGNMENTID=YOUR_ASSIGNMENT_ID
Optional parameters:
SETTINGSFILE=”%~dp0\yourfilename.tvopt”
This parameter imports TeamViewer options. For example, a Conditional Access Router.
For more information, please read the following article:
Export settings for deployment
Don't use this parameter in combination with IMPORTREGFILE.
Please check this article for more MSI parameters.
Step 9: Create a package in Microsoft Endpoint Manager (Intune)
Note: The following instructions are for the line-of-business app method. For the Win32 app method, click here.
- Sign in to your Microsoft Endpoint Manager.
- Navigate to Apps ➜ All Apps.
- Click the Create button.

- Select Line-of-business app from the drop-down as app type.
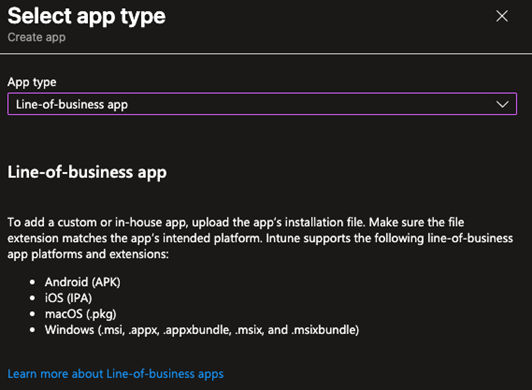
- At the end of the page, click the Select button.
- In the next window, select the app package file.
- After you have selected the file, click OK.

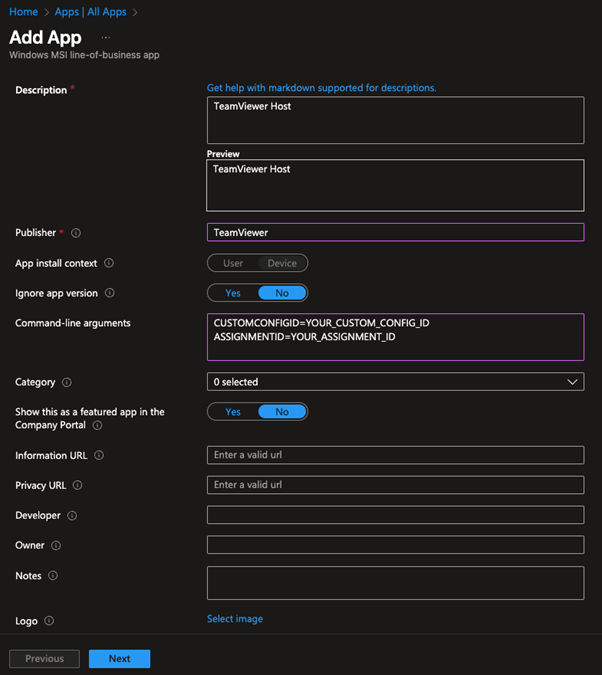
App information
- Change the name if needed.
- Change the description if you want.
- Enter the Publisher.
- Add the command-line arguments:
CUSTOMCONFIGID=YOUR_CUSTOM_CONFIG_ID ASSIGNMENTID=YOUR_ASSIGNMENT_ID
- Click the Next button.
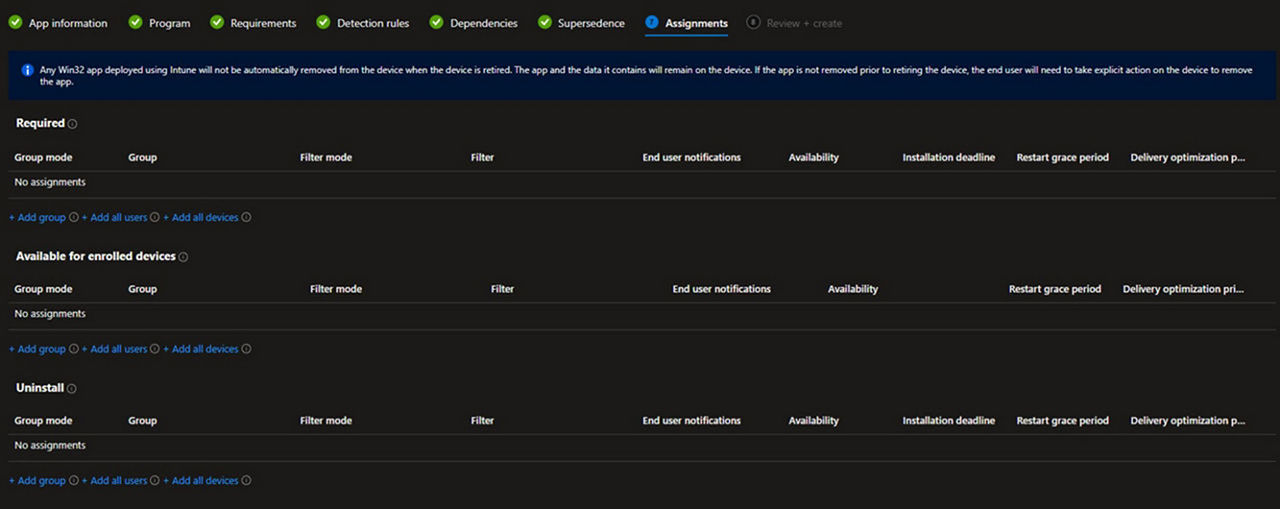
Assignments
- Select the devices and groups that should receive the package.
- Click the Next button.
Review and create
- Review the package.
- If everything is ok, click the Create button.
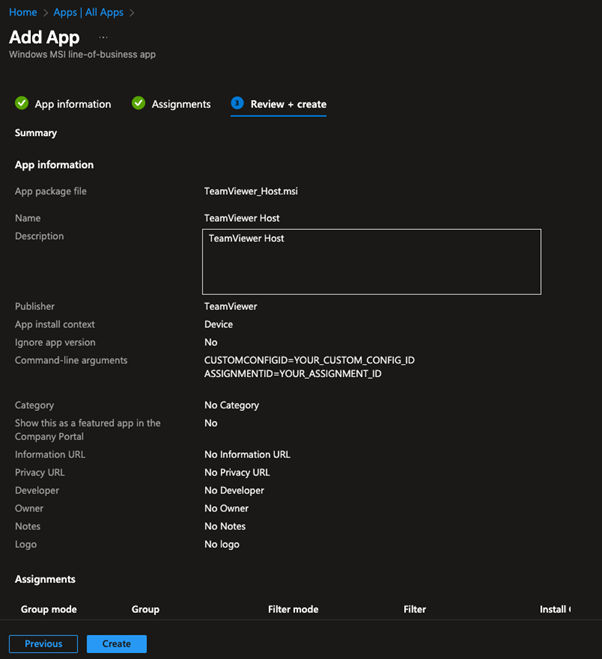
The package will be created, and the .msi file will be uploaded, and depending on the settings in the assignments, the package will be pushed to the selected devices.