If the TeamViewer (Classic) application is simply dragged to the Trash and then deleted, it can leave configuration files and other remnants that may hinder reinstallation or future use of TeamViewer.
The correct way to uninstall TeamViewer from a device running macOS is to use the built-in uninstall option found in TeamViewer Preferences. The steps below will walk you through this process.
Note: The QuickSupport and QuickJoin modules run without any installation, and as such will not contain the following steps. More information on all TeamViewer modules can be found here: Modules
The article applies to all macOS users.
Automatic Uninstallation via Preferences
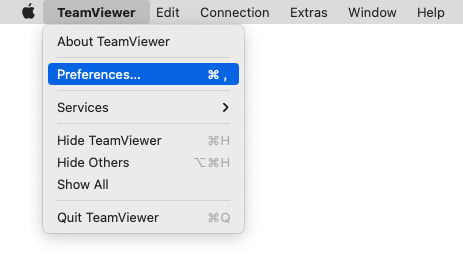
1. Open the TeamViewer (Classic) application and click the TeamViewer menu in the top-left corner. Select Preferences.
2. Go to the Advanced tab.
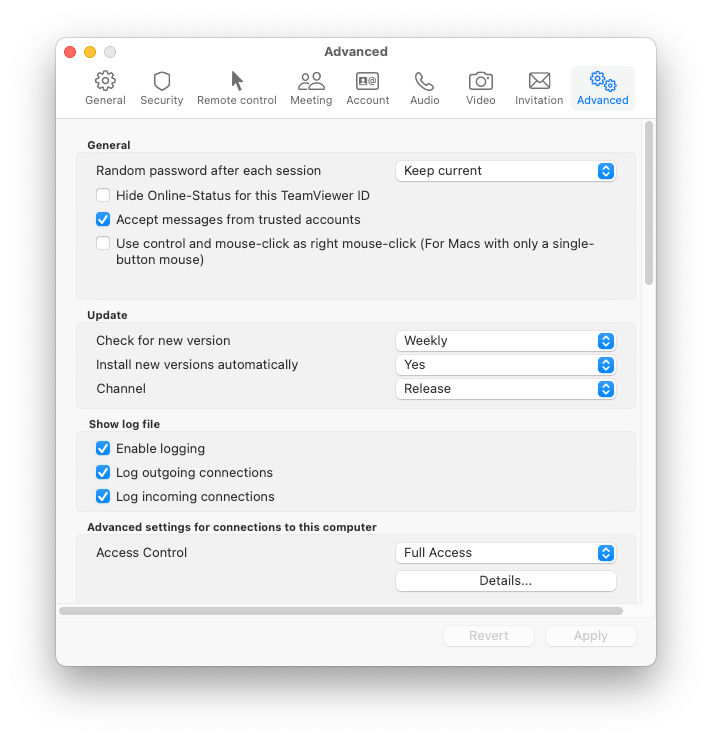
3. Navigate to the bottom of Advanced Settings to find the Uninstall button. To also delete other configuration files, click the checkbox for Also delete configuration files.

Note: Deleting configuration files is especially important if you must perform a fresh re-installation during troubleshooting.
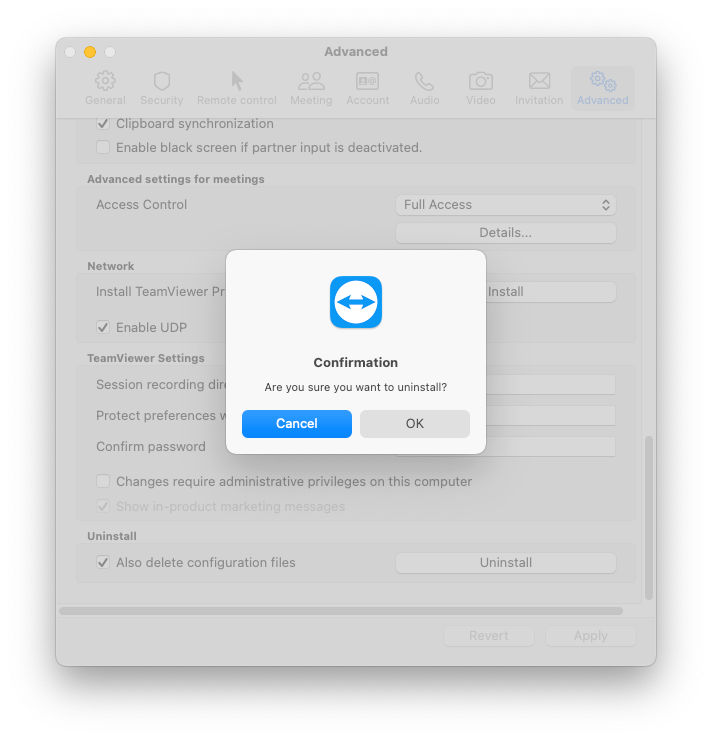
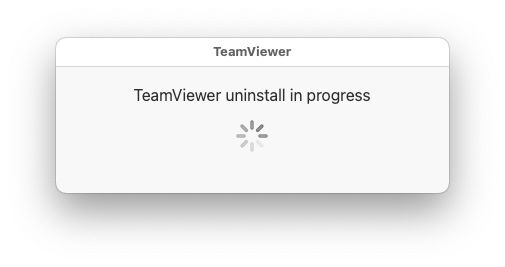
4. Click Uninstall, and confirm the request in the corresponding pop-up to begin the process.